
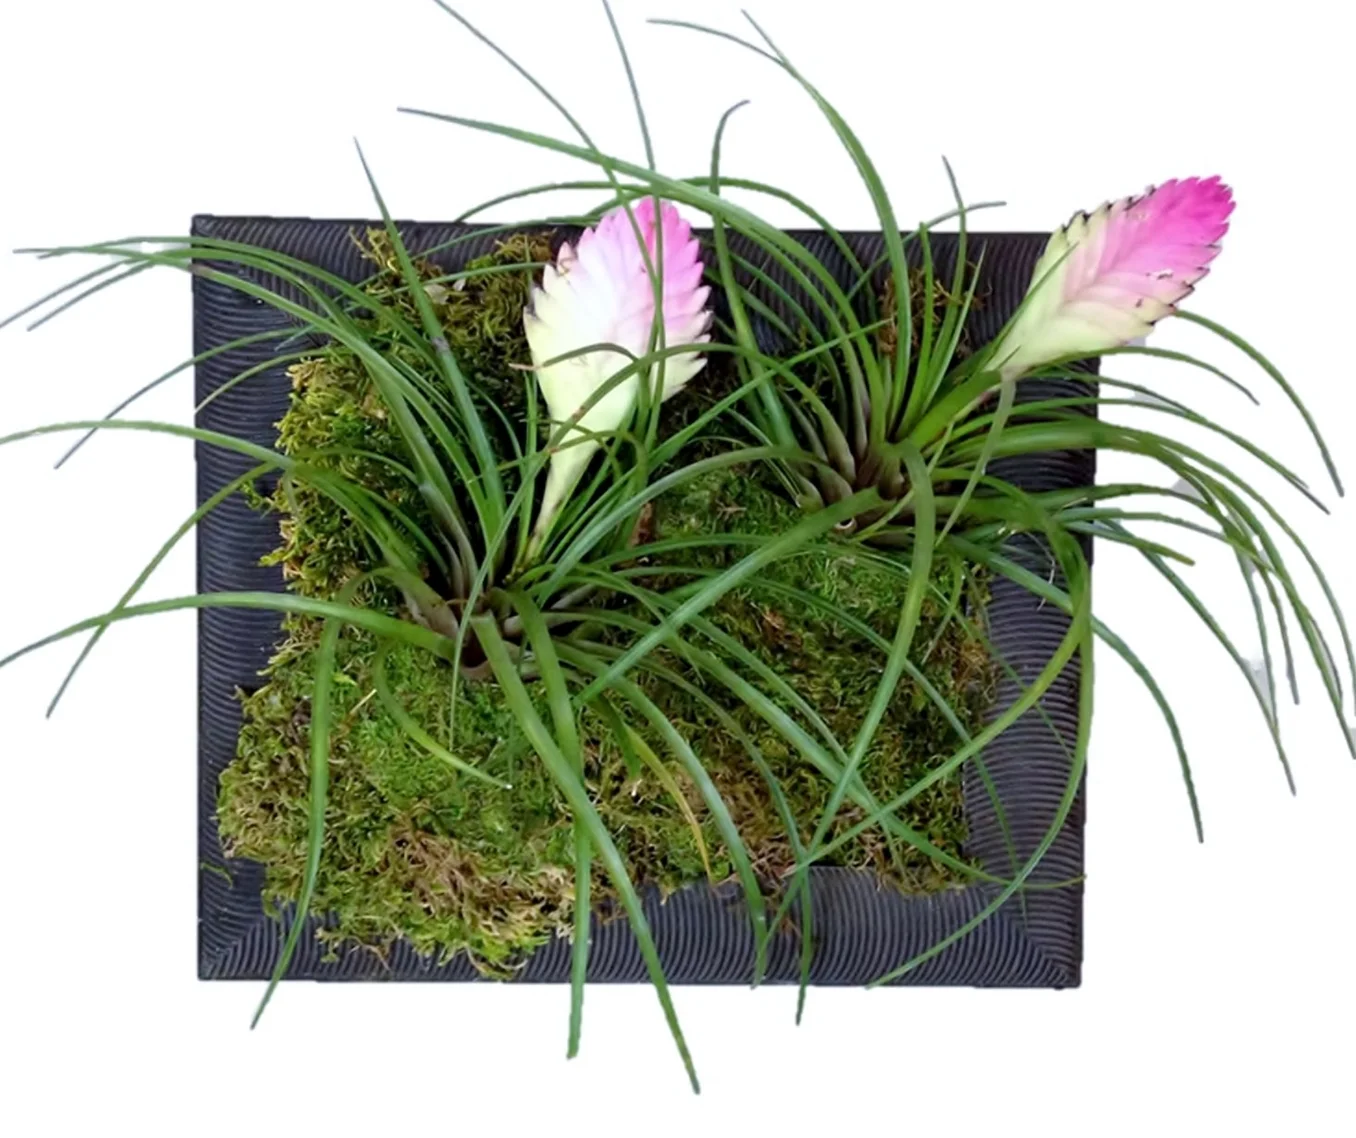
Scroll down to learn how to make your own Moss Living Wall or buy a PRE-PLANTED LIVING WALL with the plants of your choice!

This GroVert Living Wall Planter Kit creates an instant & stunning living piece of art! The kit comes with a GroVert Living Wall Panel (with 10 cells for 10 plants), a beautiful, authentic Black stained frame, an Irrigation Tray, a Collection Tray, and mounting hardware.
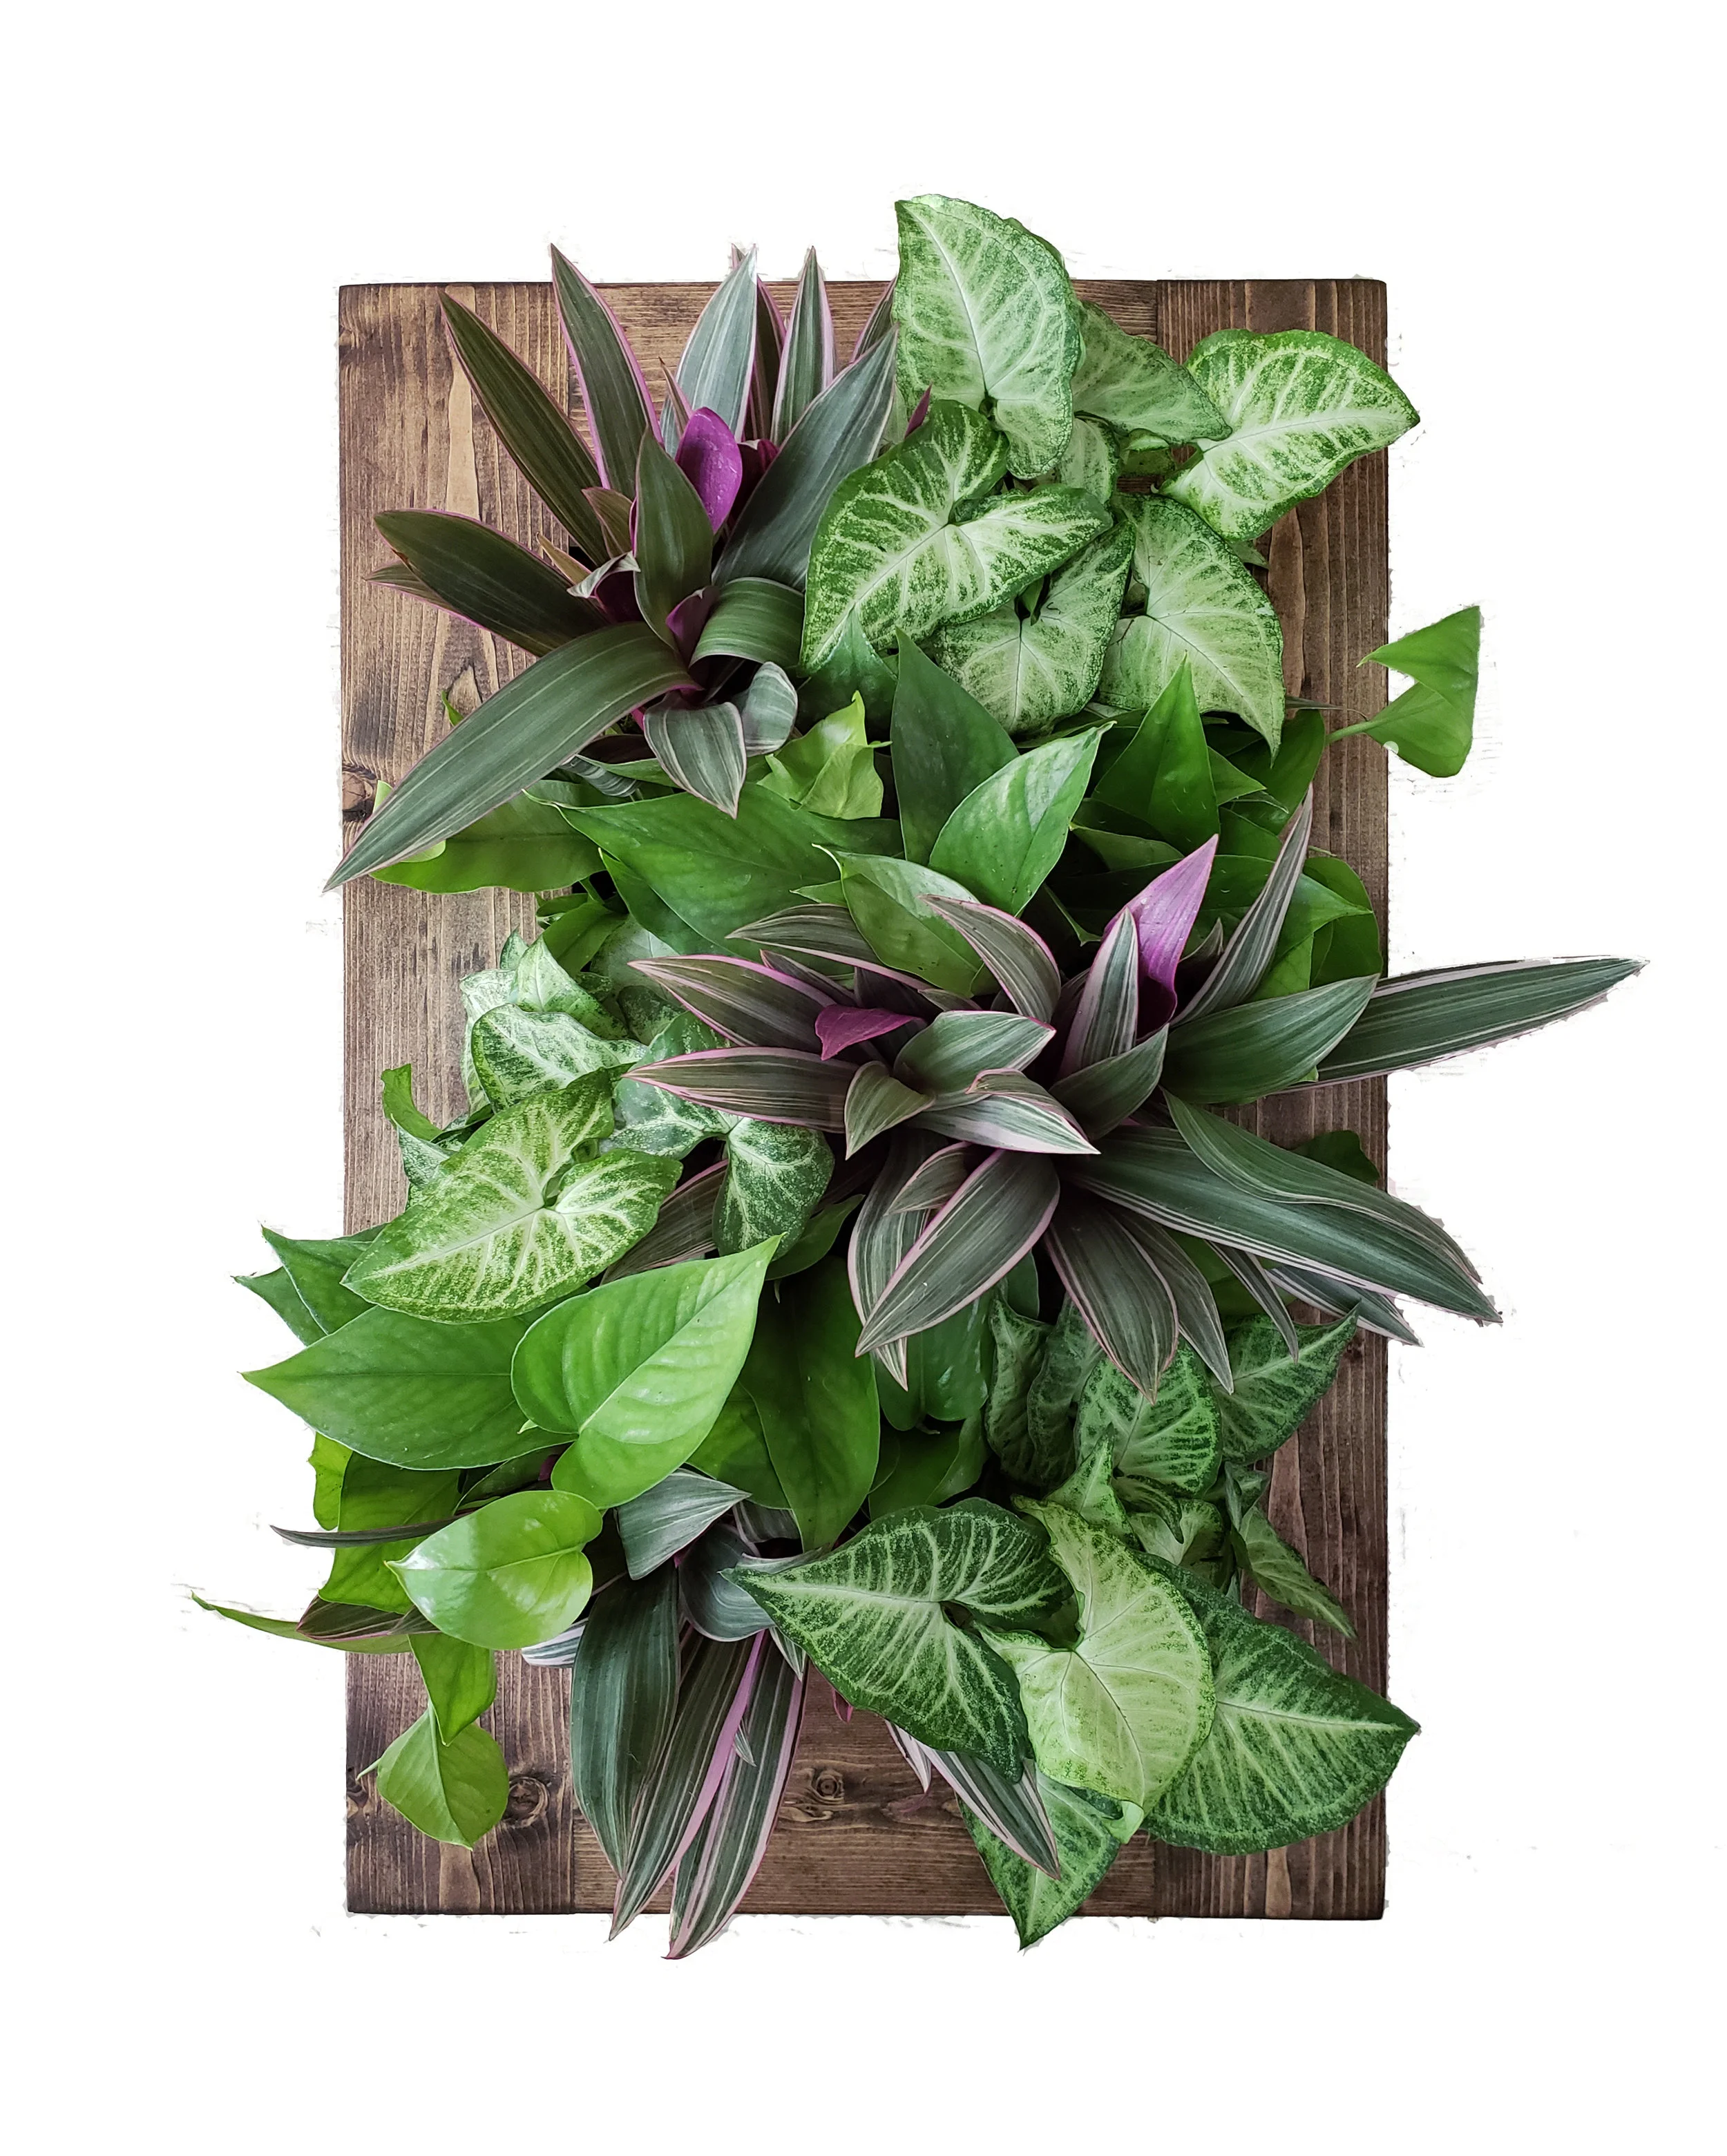
Learn How to Make This Living Wall!!
Learn how to make your very own Living Wall using items you probably already have.
The best part is the finished product - your Living Wall - is practically maintenance free!
Supplies:
New or Used Picture Frame (choose one with a flat, solid back)
Preserved Moss Mat (You can buy it here)
Preserved Mood Moss Clumps (You can buy it here)
Picture Hanging Hardware (Comes in this kit)
Plywood
Saw (hand saw, jig saw, table saw, or circular saw)
Construction Adhesive
Sand paper
Glue Gun & Glue Sticks
Electric Stapler or Staple Gun
Handy Square
Silicone - Paintable and Fast Drying (optional)
Paint (optional)
Air Plants - Tillandsia Bromeliads work great
Pliers
Prepare the Frame
1. Remove the backing from the back of your frame

A frame with a solid, flat back. Felt can be peeled. Remove hardware with screw driver or pliers.
If your frame has a felt backing you can remove the felt easily by pealing. You may need to sand off remaining pieces of felt.
If your frame has hardware like the one shown on the left you will need to remove it with a screw driver or pliers.

Back of frame with felt and hardware removed.
2. Cut and prep the plywood
Carefully measure the dimensions of your frame.
Using your measurements, use a handy square to mark your plywood.
Make your cuts using a hand saw, jig saw, table saw, or circular saw.
3. Attach the plywood
First, you may need to sand down the sides and corners of the plywood for a smooth, splinter-free finish.
Next, apply a line of construction adhesive to each side of the frame. Be generous but not too excessive. If you apply too much the excess with seep out from under the plywood and create a mess.
Using an electric stapler or staple gun, hold the plywood firmly in place and begin stapling in a uniform pattern. Be sure you use the correct size staples to prevent the staples from going all the way through the back and out the front of the frame.
Use a hammer to push the staples in until they are flush with the plywood.
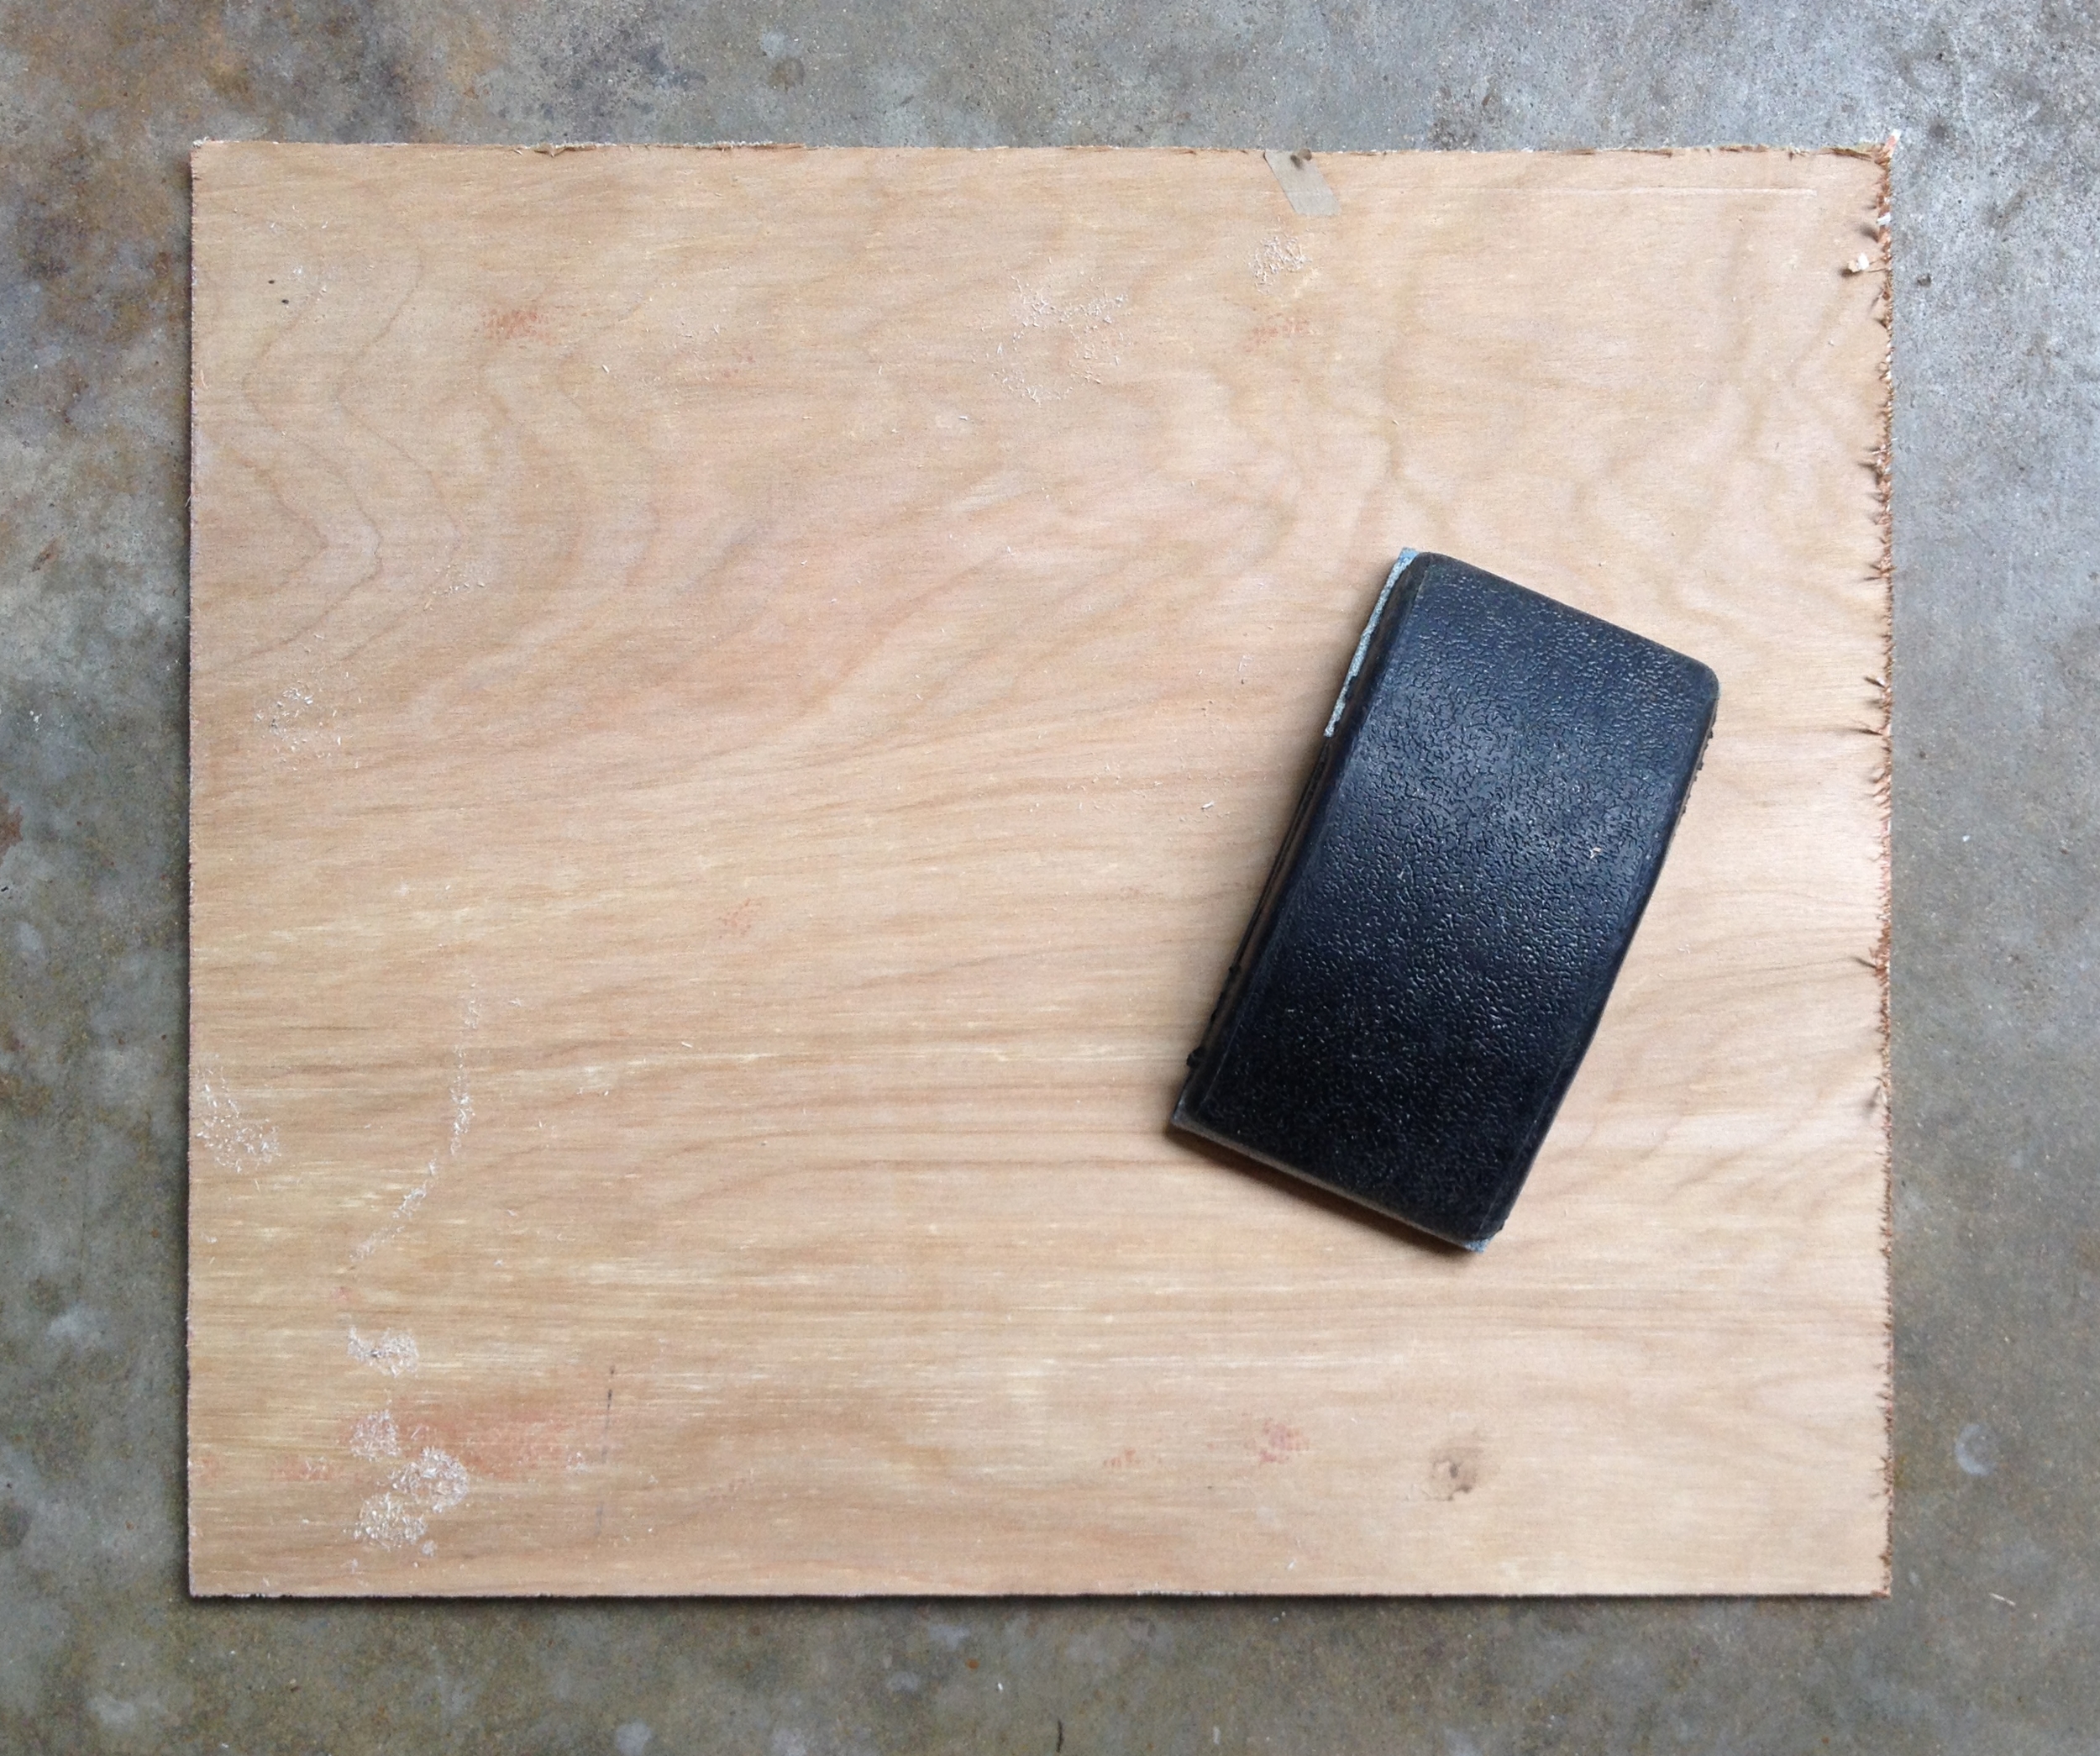
Sand the sides for a smooth finish
4. Finishing touches
You may choose to use fast-drying, paintable silicone to fill in the gap between the frame and the plywood for a seamless finish. After allowing at least 30 minutes for the silicone to dry, you are ready to paint. Be sure to choose the appropriate type of paint (matte, satin, gloss, etc).
Use painters tape to cover the front of the frame to make painting easier. Then paint away.
5. Attach hanging hardware
After the paint has dried completely, you are ready to attach the picture hanging hardware.
We use Screw Eye-Hooks and Picture Hanging Wire. The Eye-Hooks screw in quite easily. You may choose to use pliers for a good grip in order to apply needed pressure when screwing them into the plywood.
Apply the Moss & Plants
6. Choose your moss

Moss Kit just for this project!
You can choose almost any preserved moss. We chose Mood Moss. Large clumps are much easier to work with than loose strands. Some other choices are Reindeer Moss (which comes in a huge variety of colors), Black Lichen Moss, and Mushroom Moss, to name a few.
You can choose to buy a Moss Kit made specifically for this project. It contains enough moss mat and mood moss for one Living Wall Frame under 220 sq inches plus picture hanging hardware.
For our example we chose to have a background of solid mood moss. Our main feature and variety will be the Tillandsias (air plants).
If you prefer to make your Living Wall COMPLETELY MAINTENANCE FREE you can leave the Tillandsias out and stick with preserved moss only. If you choose this option, we suggest mixing a variety of mosses to add interest.
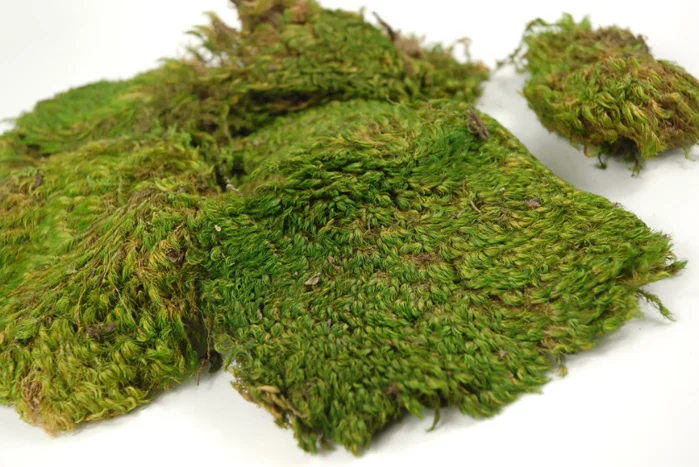
Mood Moss
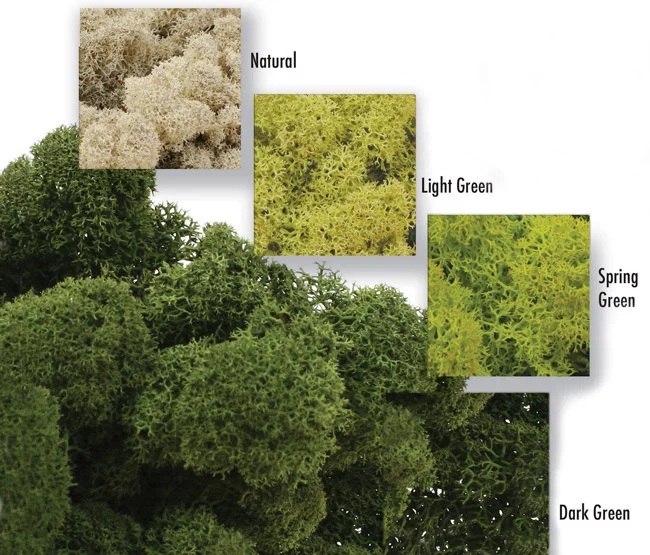
Reindeer Moss

Black Lichen Moss

Mushroom Moss
7. Attach the bottom layer of moss
Pre-heat your glue gun. The larger the gun and the glue sticks are the easier this process will be.
Apply glue in small sections at a time to prevent the glue from drying before you can attach the moss.
Keep working until you have a solid background of moss.
8. Prep your plants
Run a gentle stream of water over the roots of your plant until all you see is roots.
Wrap the roots into a small ball and secure with a rubber band.
9. Attach the plants
Cut a square of moss mat just big enough to cover the root ball of your plants.
Place the plant on the frame and make a pocket with the moss mat around the root ball. Secure with the staple gun or electric stapler.
Glue small pieces of mood moss over the staples to hide them from view.
10. Hang & Enjoy
CARE INSTRUCTIONS
If you have chosen to put Tillandsias or other Air Plants on your Living Wall all you need to do is slip the plants from their moss pockets every 7 to 10 days and soak for 30 minutes. Dry the plants upside down for a few minutes and then place them back into their pockets.
If you stuck to preserved moss only, your Living Wall will not need any maintenance at all!
Looking for an QUICK & EASY Living Wall with plants?
We sell PRE-PLANTED Living Walls!!
Pre-Planted Made In The Shade FloraFelt 12-Pocket Planter
Pre-Planted Walnut Framed GroVert Living Wall Planter

Pre-Planted Succulent Collection FloraFelt 12-Pocket Planter
Customers who viewed this page also showed interest in these products…

This kit is the perfect introduction to vertical gardening. The hard work of designed and assembling is done for you.

This GroVert Living Wall Planter Kit creates an instant & stunning living piece of art! The kit comes with a GroVert Living Wall Panel (with 10 cells for 10 plants), a beautiful, authentic Walnut frame, an Irrigation Tray, a Collection Tray, and mounting hardware.

This is a one of a kind light system that you will only find on this site because this light is built by hand by Edible Walls specifically for mounting above vertical gardens.
27" wide and 2.5" tall
Cord and Plug Connected Appliance - Not Hard Wired
Extends 12 inches from vertical surface at 10° angle
Provides 6 square feet of light surface area with a greater focus on the top vertical half
Please see diagrammed image for more information